
Monday, 9 May 2016

pictures

These above are some of the very first layouts I had created to help me decide on a land shape and building layout on the island, after some decision making, I decided to pick the standard circle shape, but with tweaks I have designed it to look like it would be featured in a Sci-Fi world.

These designs are the side views of some of the land ideas, with the design of a thruster engine as a source of power to keep the island in the sky, i went through the phase of deciding whether the underneath would be flat to support the thrusters installation or to maybe have the underneath look like a rocky mound from underground.

I did this observational drawing from the research I had taken out on a game called Anno 2070 which contains the Sci-Fi looking buildings similar to my final piece model, the thumbnail on the left is another skyscraper like building from the game, with a top down view of the same building to catch a glimpse of the building from different angles.

This was a top block out drawing of the village/city layout that would be featured on the island that would be created, very simple with residential houses either side with gardens both front and back, nice futuristic layout, with a feature pool in between to bring attraction to the town, and a nice touch to the finish scene.

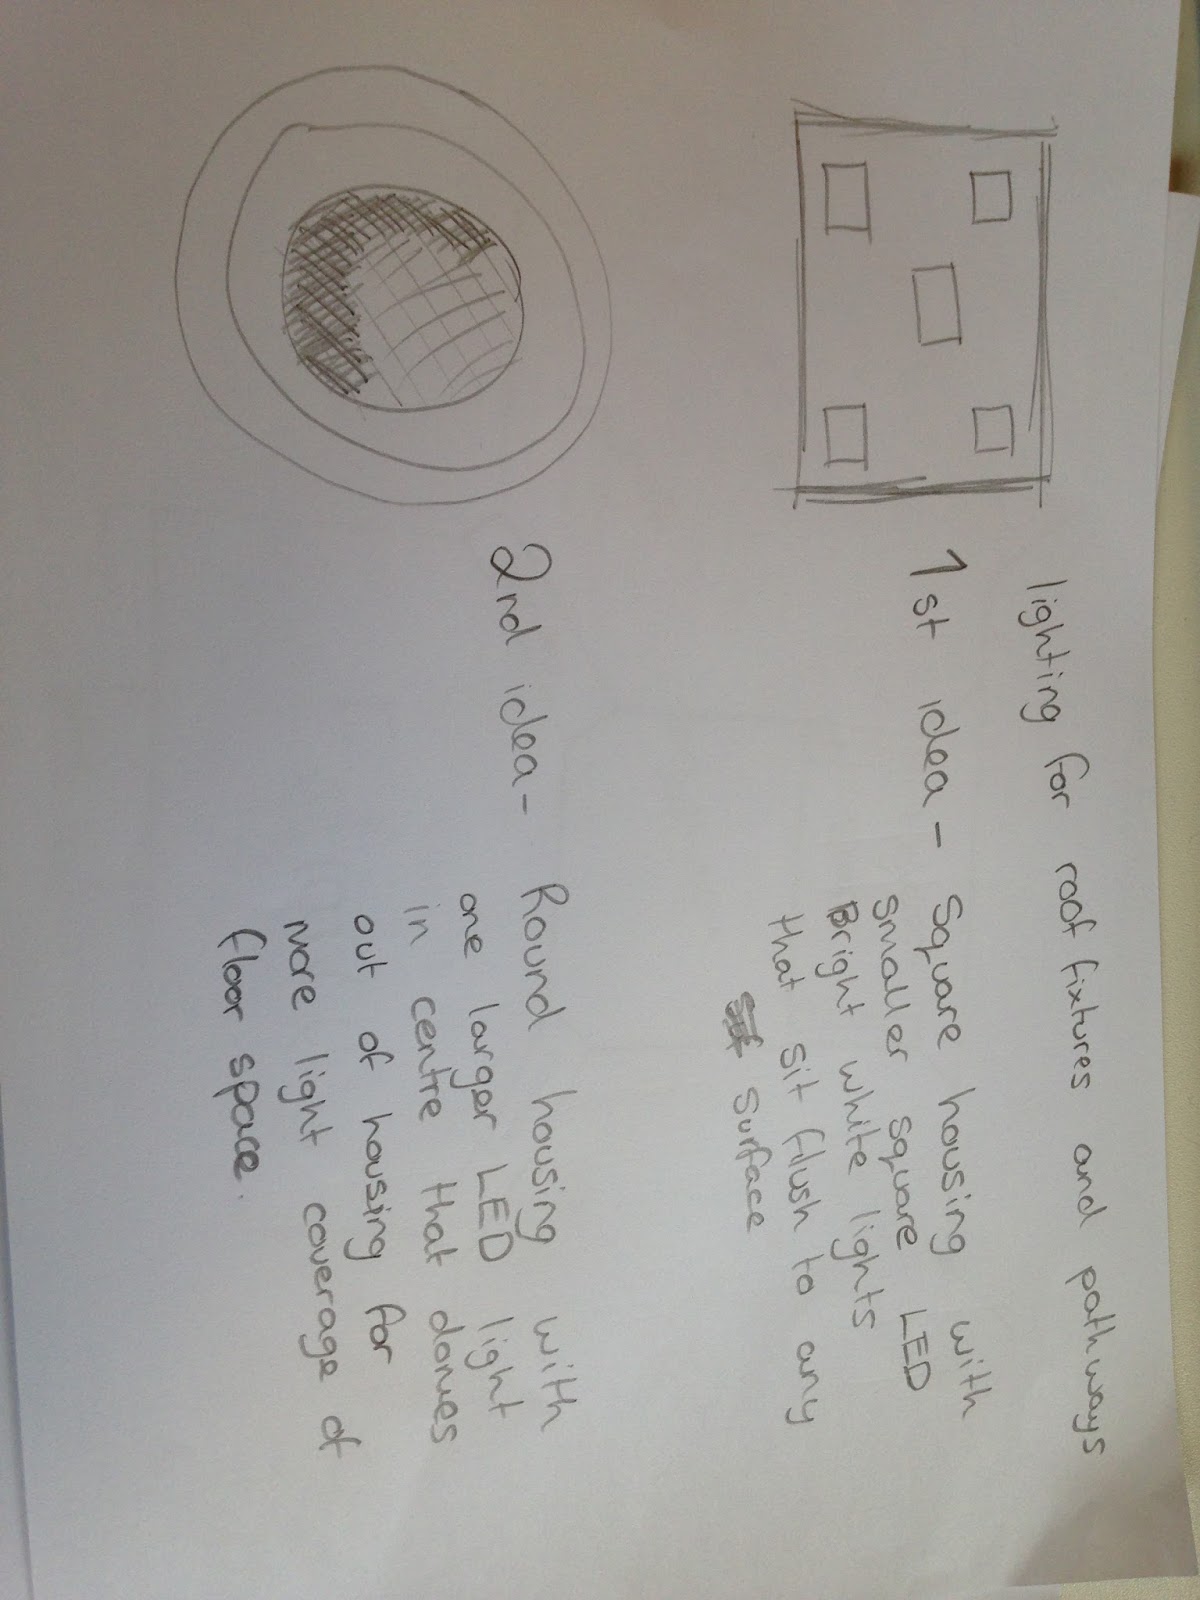
This was the lighting experiment i took out, drawing ad designing all the different style lights that could be featured on all the different buildings in my scene, from the feature pool to the outside lights of house, to wall lights on the inside, experiments on lights that sit flush to the wall with a slick futuristic look, to the ones that come off the wall with a circle beam of light that creates a bright glow to light up the room its placed inside of.

This was the one of the very first few land designs, with one of the corners of the island raised like a mound on the island taking inspiration from the small island just of the coast of Aberdaron, North Wales, Gwynedd a small island called Bardsey island, which also contains a small mound of dirt and rock on the one corner of its land. The arrows from top down are indicating the light being shown onto the island, the island is mirrored onto the base, which is an exact replica of the top, but the underneath is sunk in darkness to show the fact that there is no life and has no character.

This is the same island, but with a few designs, like the globe, which i named has the main icon building which I had designed to light up my surname in the globe and animate to spin on the spot to add that extra bit of character and final touch, with also my trademark if you would call it.

This is a top down view of the island with a little more detail than before, with the design of a road that would circle the island like a tour showing off all its features in style and hopefully bring attention to the island.

Thursday, 5 May 2016
Helicopter creation step by step

It all started with a simple box, which was turned into a cuboid, extruded here and there, moved some vertex's around to shape the un-smoothed, so when it is smoothed in future, it all lines up and looks rather realistic, after shaping the box model, added a few edge loops and then extruded the rear for the tail boom, after zooming out and having a look, the tail looked rather long so i had to shorten it, up to this point everything is just selecting the correct faces and predicting what the outcome would be and if it would match a real helicopter. creating this helicopter was really just an experiment but because it went so well and looked good enough to be featured in my final scene.
Thursday, 14 April 2016



Lighting

Tuesday, 22 March 2016
Peer Assessment


Subscribe to:
Posts (Atom)